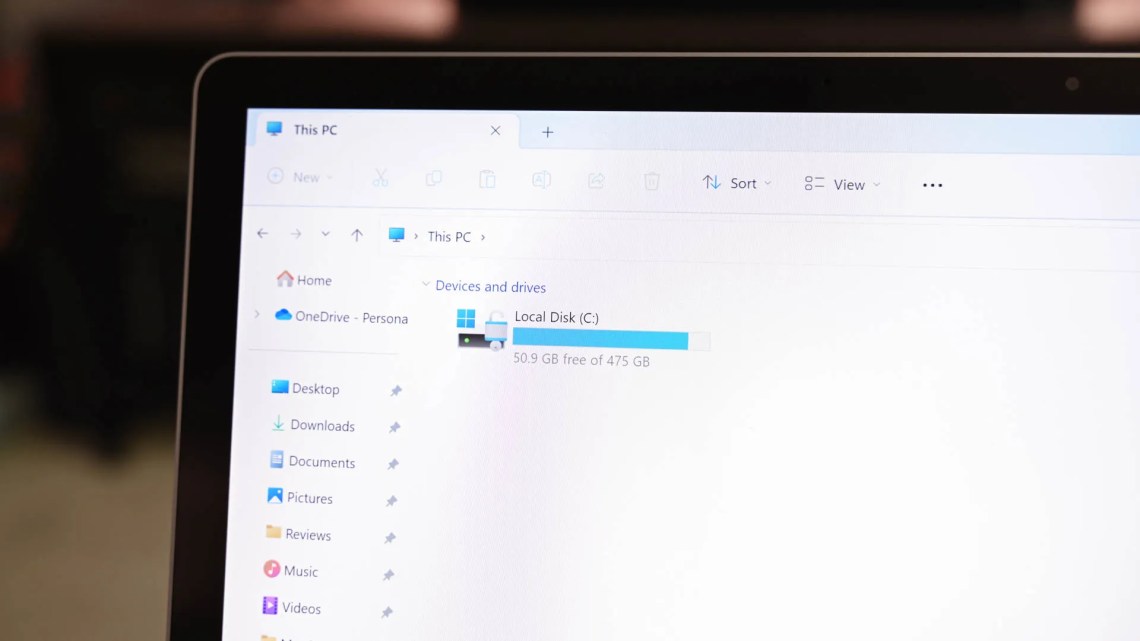
Windows 11, like previous versions of Windows, accumulates temporary files over time.
These files are created for various reasons, such as during software installations, updates, or everyday operations.
If not cleared regularly, they can eat up disk space and reduce system performance.
Rather than deleting these files manually, you can automate the process to save time and maintain your PC’s efficiency.
Here’s how to set it up.
Step 1: Create a Batch Script to Clear Temporary Files
To begin automating the cleanup process, you’ll need to write a script.
This batch file will remove files from both the user and system-wide temporary directories.
Follow these steps to create the script:
- Press Windows + S to open Windows Search, then type Notepad and hit Enter.
- In the blank Notepad window, copy and paste the following code:
@echo off
echo Cleaning system and user temp files...
del /s /f /q %TEMP%\*.* >nul 2>&1
rd /s /q %TEMP% >nul 2>&1
md %TEMP%
del /s /f /q C:\Windows\Temp\*.* >nul 2>&1
rd /s /q C:\Windows\Temp >nul 2>&1
md C:\Windows\Temp
echo Temporary files cleared!
- Click File > Save As.
- In the “Save as type” dropdown, choose All Files.
- Name the file
ClearTempFiles.batand save it in your desired folder.
You’ve now created an automated cleanup script.
Step 2: Schedule the Script Using Task Scheduler
To ensure your script runs at a regular interval, use the Task Scheduler.
Here’s how to configure it:
- Press Windows + S, search for Task Scheduler, and open it.
- In the right-hand Actions pane, click Create Basic Task.
- Give it a name like “Clear Temporary Files” and click Next.
- Choose how often the task should run, for example Daily, and click Next.
- Set the Start date and time for the task and click Next.
- Choose Start a Program and click Next.
- In the Program/script field, type the full path of the
ClearTempFiles.batfile you saved earlier. - Click Next, then tick the checkbox for Open the Properties dialog for this task when I click Finish, and hit Finish.
- In the properties window, check Run with highest privileges, then click OK.
Your task is now active and will run automatically based on your chosen schedule.
Step 3: Add More Cleanup Options to the Script
To make your script even more effective, you can include commands to remove other junk files.
Here’s how to expand its functionality:
- To clear Recycle Bin, add this line:
PowerShell.exe -Command "Clear-RecycleBin -Force"
- To clear Windows Update cache, add:
net stop wuauserv
rd /s /q C:\Windows\SoftwareDistribution\Download
net start wuauserv
- To clear prefetch files, use:
del /s /f /q C:\Windows\Prefetch\*.* >nul 2>&1
Adding these lines will ensure your PC stays clean across multiple storage locations.
Step 4: Run Script at Startup or Shutdown
You can configure Windows to run your script automatically when the system starts or shuts down.
Here’s how to do both:
Run at Startup
- Open Task Scheduler.
- Right-click your task and select Properties.
- Go to the Triggers tab and click New.
- In the Begin the task dropdown, choose At startup.
- Click OK, then OK again to save changes.
Run at Shutdown (Windows 11 Pro Only)
- Press Windows + R, type
gpedit.msc, and press Enter. - Navigate to:
Computer Configuration > Windows Settings > Scripts (Startup/Shutdown) - Double-click Shutdown, then click Add.
- Add your
ClearTempFiles.batfile and save the settings.
Note: This option is only available on Windows 11 Pro and not on the Home edition.
Step 5: Use Storage Sense for Built-In Cleanup
If you prefer using built-in tools, Storage Sense in Windows 11 is another way to remove temporary files.
Here’s how to enable it:
- Press Windows + i to open Settings.
- Go to System > Storage.
- Turn on the Storage Sense toggle.
- Click on Storage Sense to customize what gets deleted and how often.
- Use the Run Storage Sense dropdown to set an interval that fits your usage.
Conclusion
By using a combination of custom scripts and built-in tools, you can automate the removal of temporary files in Windows 11.
This not only frees up valuable storage space but also keeps your system running smoothly.
Whether you choose to run the cleanup daily, at startup, or on shutdown, these methods offer flexibility and control.
So pick the one that suits your workflow and enjoy a faster, cleaner PC.

